USING COUCH
A screen for context.
Buttons for control.
Learn what the remote’s buttons do as you move from rooms to lights and media. Start with the default controls, then customize them for your activities.
Rooms & navigation
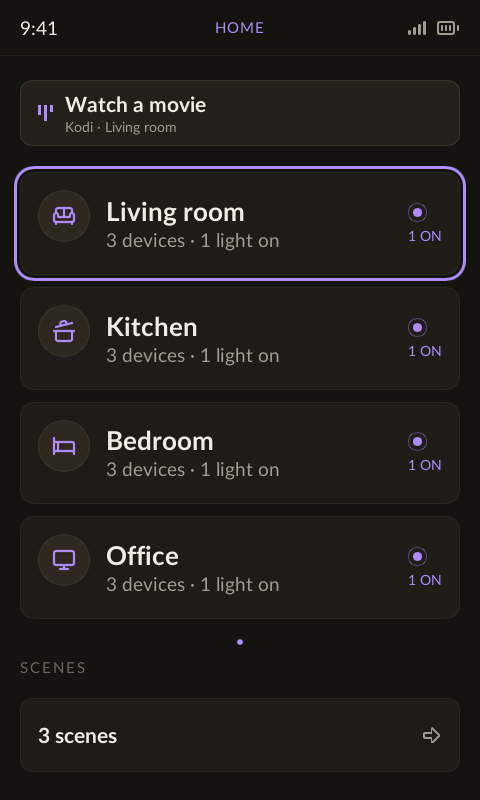
The home screen collects your rooms, activities and scenes in one area. Open a room to see its devices in a single list.
Read guideLights & scenes
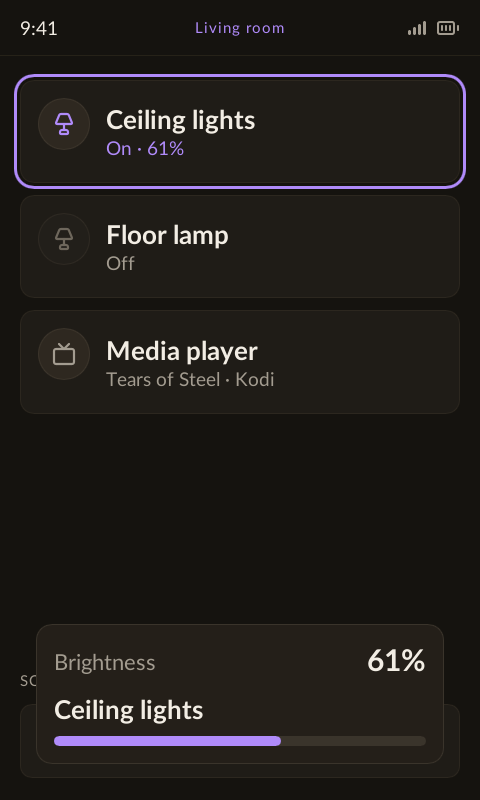
Highlight a light or a Hue room in the device list. Its physical controls are ready immediately; brightness and scene changes appear in a temporary card.
Read guideBlinds & thermostats
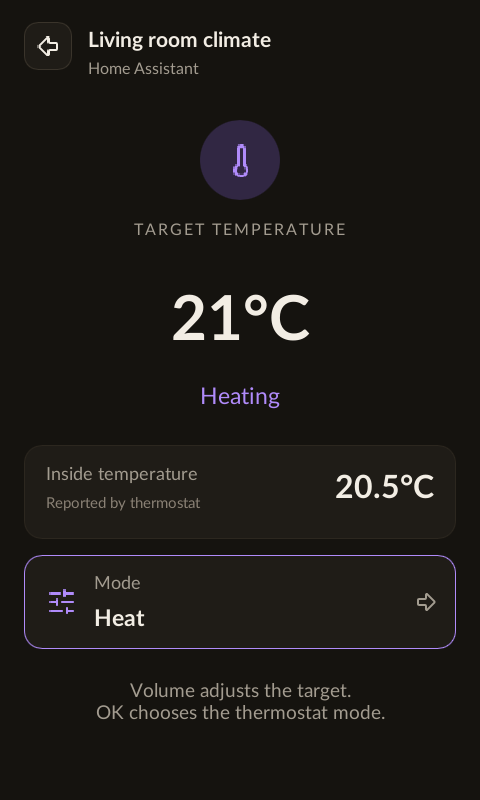
Use Volume to position blinds or adjust a thermostat target. OK toggles a blind or opens the thermostat’s dedicated view.
Read guideKodi & activities

Open a Kodi device from a room to take control immediately. The playback screen uses its artwork, title, timeline and available media options.
Read guideAndroid & Google TV
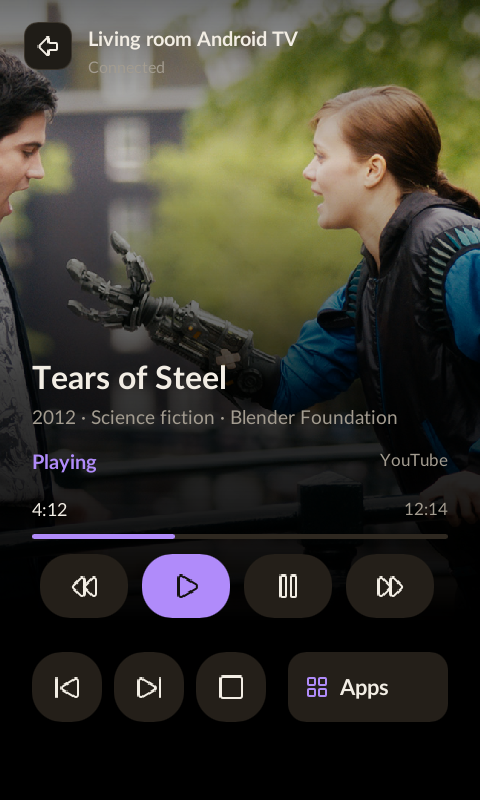
Pair Android TV once in Connections, add it to a room, then select its row and press OK. Navigation and media keys go straight to that TV.
Read guideLG webOS TVs
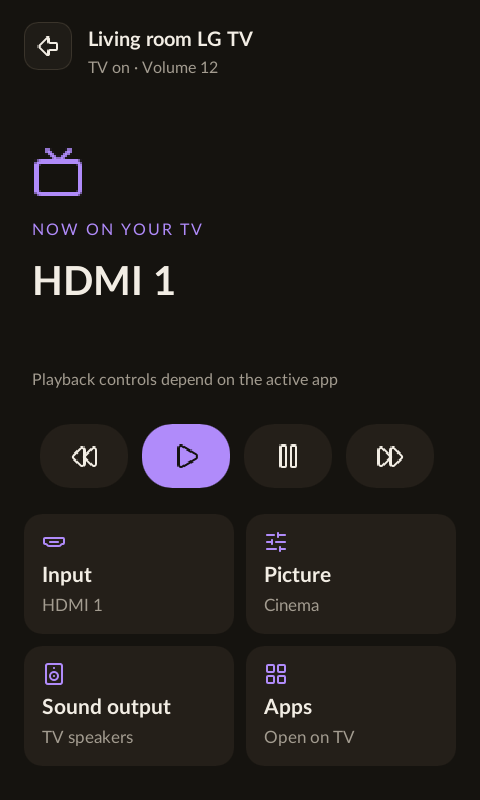
Pair an LG webOS connection and add it to a room. Select the TV on the remote to use physical navigation, power, volume and color buttons immediately.
Read guideApple TV
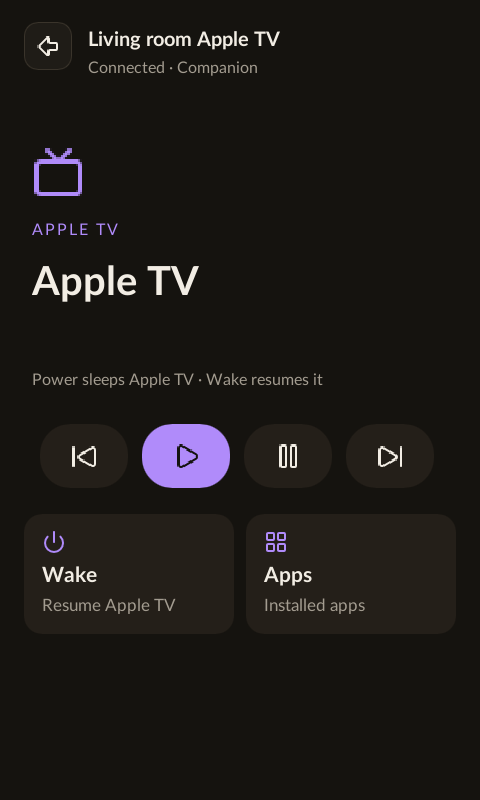
Pair with an on-screen PIN, control Apple TV with physical buttons, and open its installed apps. Companion support is experimental.
Read guideInfrared devices
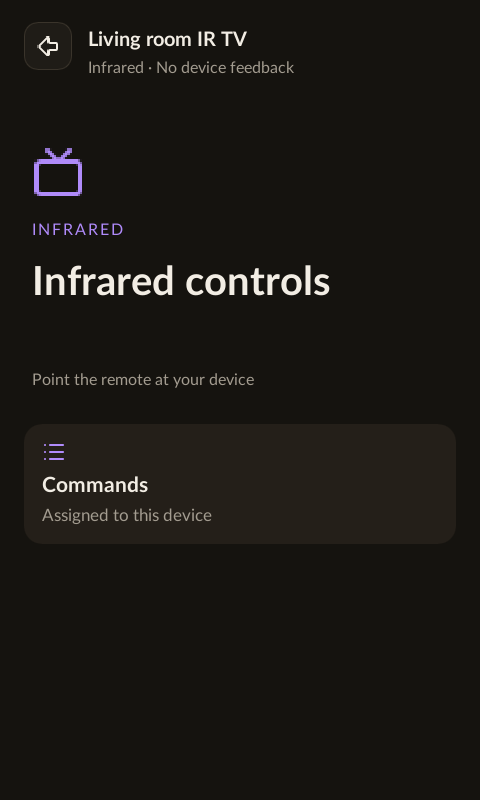
Attach IR commands to an existing device or add an IR-only device.
Read guideThe same UI as the remote.
Every screenshot here is rendered from the Slint components used on the device, through the same WebAssembly build as our home-screen preview. The site rebuilds these images when the interface changes. Room names, devices and artwork use local example data.
These guides track current development, so an older installation may look different. Try the interactive preview or browse the source.